Data recovery is a common problem of many people. Yesterday I got an old notebook HDD (500 GB) and the owner asked me if it is possible to recover some files after a recovery try by using the vendor’s recovery function. The recovery function of notebook vendors usually formats the windows partition and you may or may not lose some of your files (almost always you do). What can you do in this case:
What happens if you format your drive?
If you format your drive you lose the file system information such as folders and filenames. This is basically as bad as deleting files: Deleted files are not deleted itself, but the information where to get that file (filesystem information) are updated and not pointing to your file anymore. The deleted file is available somewhere on the drive until you (or the operating system) overwrite it. Therefore chances are high that data recovery is possible if you haven’t written to the disk too often.
Copy the drive
First, make a copy of the drive and never mount it. Mounting the device can lead to new writes and they might overwrite some files you deleted previously. You should use a data recovery tool such ddrescue to copy the drive since it can deal with bad sectors and old, slow hardware pretty well:
ddrescue -f -n /dev/sdX /root/rescue_operation.img /root/recovery.log
We copy the drive to an image file. ddrescue will deal with bad sectors and IO errors. It is important to know that reading from a dying hardrive is sometimes a 1-try-or-fail operation: If you do a full read over all sectors it will be at some point so slow that you read only several hundreds of bytes per second. This means that cloning can be fast like some hours or slow like several days. In my example, the drive died shortly before the finish line, but 99,99% was rescued.
Testdisk
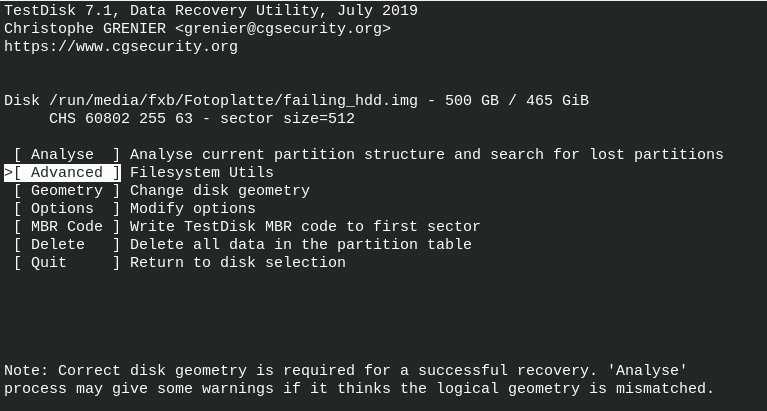
If you miss some filesystem information, you may try the data recovery tool testdisk to recover filesystem information by analyzing available nodes. Some filesystems do have master file table such as NTFS. If this table is lost, you can get into trouble. Some file systems allow a recovery via detectable subnodes and metafiles. The reconstruction of filesystems is beyond the scope of this blog entry but tools like testdisk offer this functionality up to a certain level of destruction.

In my case the partition table was mostly the same and most filenames were still intact or available. So I decided to keep the copy of the whole HDD and do a second run getting all available files with photorec for advanced data recovery. The filenames would not completely be intact anymore for all files from the HDD, but still okay for my use case.
Photorec
Here we have the most powerful data recovery tool from testdisk. Photorec searches for files on the target by following file signatures. You can select which files you want to scan for and then all found files will be available in the target folder.
photorec /log /d /recovery_photorec/ /root/failing_hdd.img
This writes all recovered files from the image to the folder recovery_photorec and into several subfolders (e.g. to not create an extremely unbalanced filesystem on the target location). These files can be analyzed just in case the wanted files are not already available in the given image file from ddrescue. Again, this can take a long time depending on the configuration. Just as a hint: if you want to copy all recovered files to another location, you should pack it into an archive so you don’t have to copy a lot of small files. One large file is usually faster. For further information, check out the following links I added to the appendix. To stay up to date, get the RSS feed on https://www.blog.cocacoding.com/feed or follow us on Twitter!
Further Information
[1] https://en.wikipedia.org/wiki/NTFS
[2] https://www.cgsecurity.org/wiki/TestDisk
[3] https://www.cgsecurity.org/wiki/PhotoRec
[4] https://en.wikipedia.org/wiki/Data_recovery
[5] https://foremost.sourceforge.net/
[6] https://www.linux-magazine.com/Online/Features/Recovering-Deleted-Files-with-Scalpel
